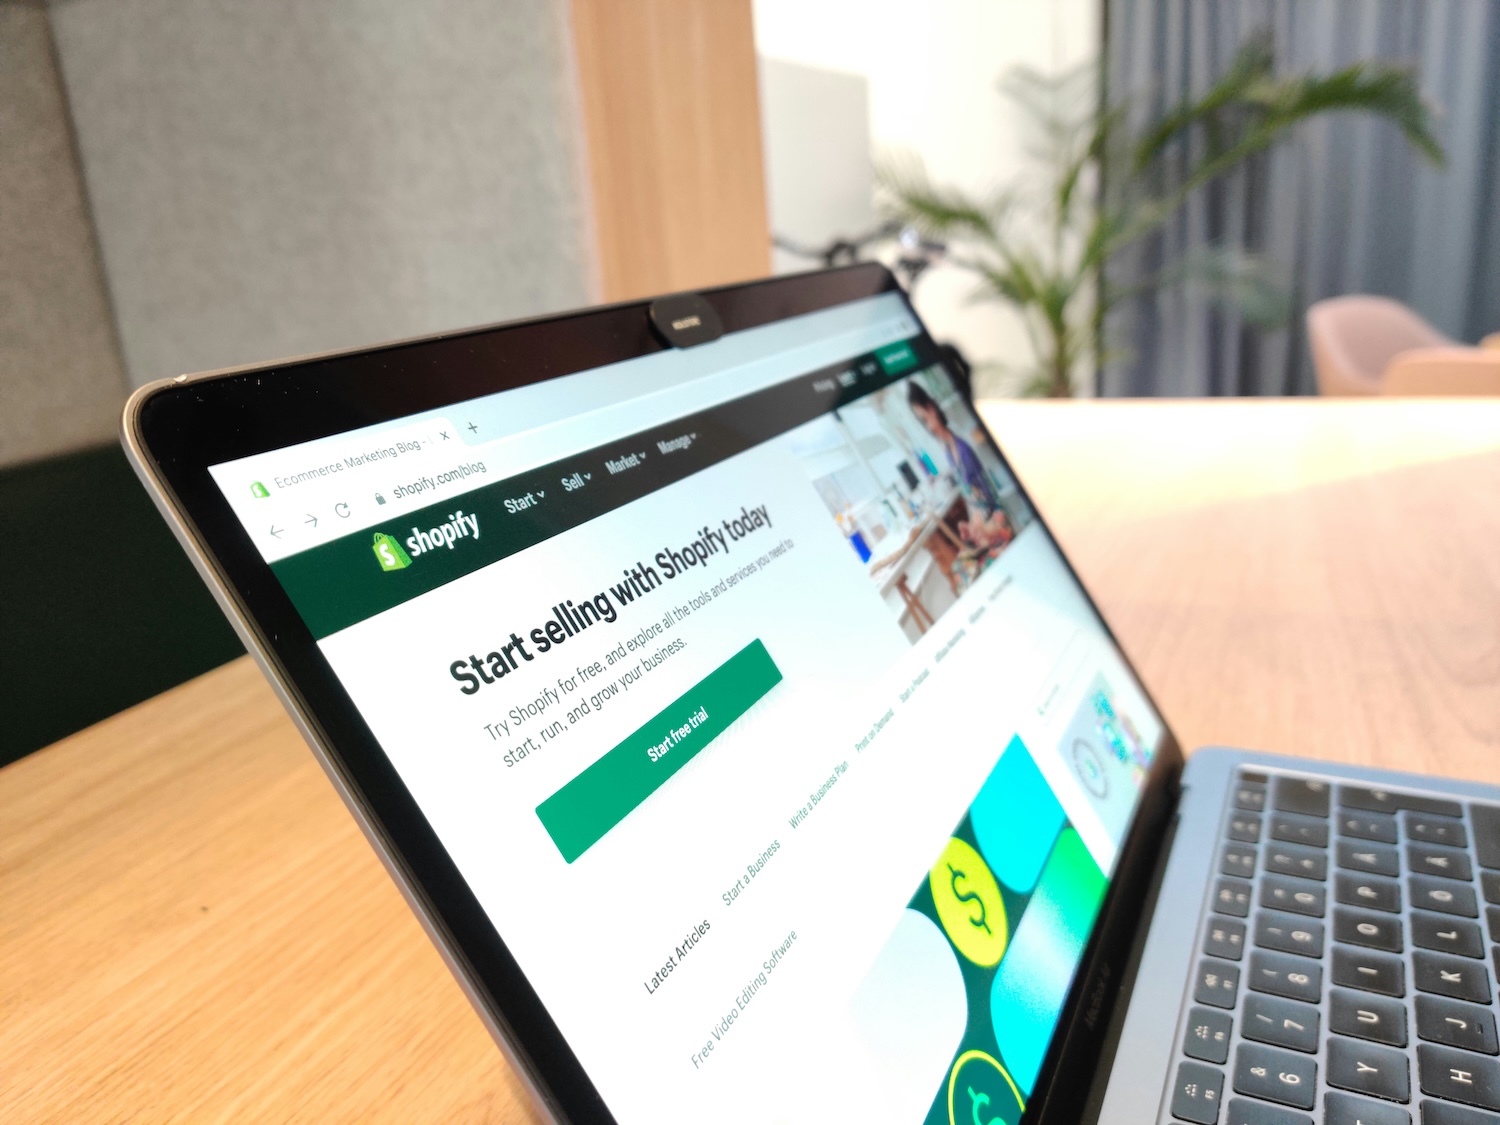
Shopify is the most popular platform for your own store, and it connects to print on demand in a couple of minutes. You get full control over your brand and customer data, and print on demand runs in the background — no warehouse and no manual shipping.
In this guide we'll go through why Shopify works for POD, what you'll need and how to connect a service step by step. If you're still choosing between a store, Etsy and a marketplace, start with where to sell POD products.
Why Shopify for print on demand
Shopify gives you full control over your brand, design and customer data, and all the big POD services connect to it natively via an app. Syncing products, prices and orders runs automatically: the customer orders from you, the order is passed to the POD service, and it prints and ships.
The price for that control is that you have to bring the traffic yourself — Shopify isn't a marketplace with built-in traffic like Etsy. It pays off when you're building a long-term brand and can (or want to learn to) bring traffic through content, social media or ads.
What you'll need
Just two things: a Shopify account (it has a 3-day trial and then a plan from about $39/mo, often with an intro offer) and an account at a POD service that has an app in the Shopify App Store. Most POD services have a free account, so the only real fixed cost in practice is the Shopify plan.
Before connecting, prepare finished designs at the right resolution (300 DPI, transparent background) and ideally have a sample ordered so you know what you're really selling. The technical connection is a matter of minutes — what takes time is preparing the products, not the integration.
Connecting step by step
1. Install the POD app
In the Shopify App Store, find your POD service's app (e.g. Printify, Printful or Gelato) and install it. During installation you'll confirm the link between your Shopify store and your POD service account.
2. Create a product in the POD app
In the POD service's interface, pick a product from the catalog, upload your design, place it on the print area and select variants (colors, sizes). The app shows the base price right away and generates mockups.
3. Set the price and publish to Shopify
Set the selling price (base price + margin), write a description with keywords and push the product to Shopify. There you'll fine-tune collections and SEO. After publishing, the product is live and ready to sell.
4. Test an order
Place a test order to verify the whole flow from cart to handing off to the printer. This reveals any errors in prices, shipping or variants before a real customer hits them.
Which POD apps to choose on Shopify
For most sellers the best choices are Printify (the widest catalog and low prices), Printful (in-house production and the strongest branding) and Gelato (local production worldwide, ideal for European and international audiences). All three have a solid native Shopify app.
If you target mainly European customers, we compared the two most relevant options in Gelato vs Printful. The choice between the two most popular services is covered in Printful vs Printify.
What it really costs
The fixed cost is the Shopify plan (from about $39/mo). The POD app is usually free, but some services offer a paid tier with a rebate on base prices — worth it only at higher volume. Add your payment gateway's transaction fees. There are no warehouse or upfront production costs.
A post-launch tip: before you pay for ads, verify the product even converts organically. We write about bringing in your first customers without a big budget in marketing a POD store.
Not sure which POD service fits your Shopify store best? Get it recommended via the configurator.
PODpickr is an independent comparison site. We base our recommendations on score, not on the size of the affiliate commission.