Print on demand (POD) is the most accessible way to launch your own brand of printed products. You need no warehouse and no upfront investment in stock — the product is made and shipped only after a customer orders. You handle only the design, marketing and running the store.
In this guide we walk through the whole journey from idea to first sale. It isn't rocket science, but a few decisions at the start will save you a lot of time and money later — so let's make them.
What print on demand is and who it suits
With POD you upload your design onto a product from the provider's catalog (t-shirt, mug, poster…) and offer it in your store. When someone buys, the POD service prints, packs and ships the product to the customer — often under your brand. You pay only the production price, and your margin is the gap between it and the selling price.
The model suits creators, illustrators, influencers and brands that want to test ideas without risk. The downside is a lower margin than bulk production and less control over logistics. But for starting out and validating demand it's ideal — you risk time, not money.
Step 1: Pick a niche
The most common beginner mistake is "selling to everyone." A narrow niche (say designs for cold-water swimmers, cat people or runners) is far easier to market and build a community around. Look for a topic you understand and that has a passionate audience willing to spend.
Validate demand before you draw your first design — scan hashtags on social media, search engines and competitors on Etsy. If someone already sells in the niche, that's a good sign (a market exists); your job is to stand out through design or a tighter focus.
Step 2: Pick a POD service
The POD service determines your production costs, quality and delivery times. For most beginners the best choices are Printify (widest catalog, low prices) and Printful (in-house production, the strongest branding). Both have a free account, so you can start with no fixed costs.
Before you list a product, order a sample — you'll see the real print and material quality and can shoot your own photos. Don't rely only on generated mockups; customers can tell the difference, and a sample protects you from complaints.
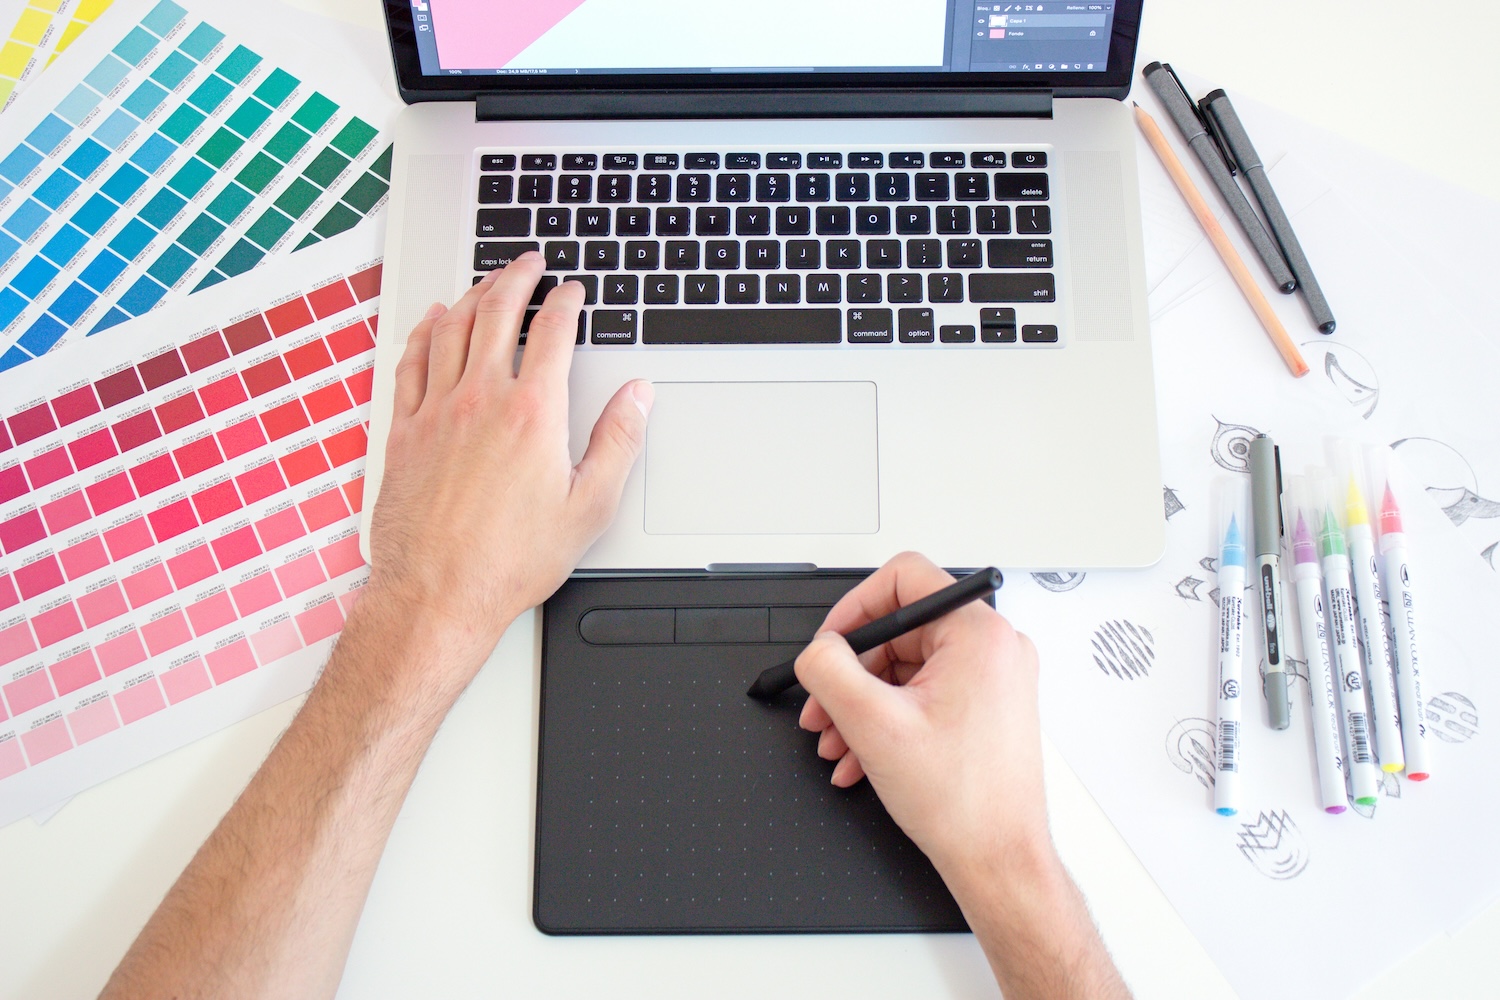
Step 3: Design and list your products
A design doesn't have to be a work of art — simple typographic ideas and jokes that fit the niche often work best. What matters is technical correctness: enough resolution (300 DPI), a transparent background and respecting the print area. Most POD services have size guides for each product.
Connect finished products to your sales channel (your own store, Etsy or a marketplace) via the POD service's integration. Write honest descriptions with keywords, add quality photos and keep a consistent visual style — that's what builds trust and first sales.
Step 4: Pricing and your first sale
Work out the price from the production cost, shipping and channel fees — and only then add your margin. POD margins of 30–50% are common, but follow your niche and perceived value: premium designs carry a higher price than generic ones. Remember that too low a price not only eats your profit but also undermines the perception of quality.
The first sale rarely comes on its own — send products to your community, reach out to friends, share on social media and gather feedback. The first few orders show you what works and, above all, test the whole process from order to delivery.
Common beginner mistakes
The most common ones are: selling to everyone instead of a narrow niche, launching without ordering a sample, copying other people's designs and underpricing. Each costs you either money or customer trust — and both are hard to win back.
Start small, one channel and a few products, and scale only what works. Better to have ten great products in a clear niche than a hundred random ones. Patience and data-driven iteration beat reckless expansion every time.
PODpickr is an independent comparison site. We base our recommendations on score, not on the size of the affiliate commission.